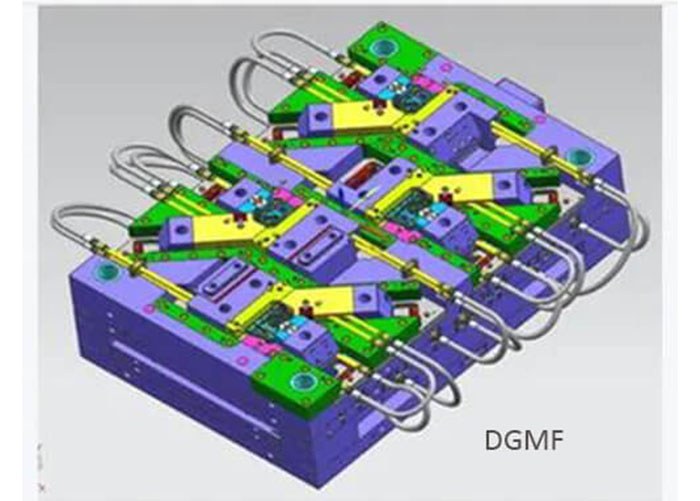
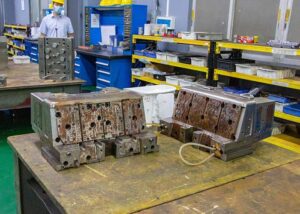
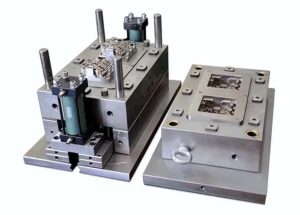
There are the 6 processes of injection mold design
In general, the injection mold design has the following six main overall design processes.
The processes of injection mold design step 1:
The first thing to consider is the analysis of finished plastic drawings and real samples.
At this point, we have to consider the geometry, size, technical requirements, appearance, tolerance, and design basis of the product.
The processes of injection mold design step 2:
Second, what we have to consider is the model of the injection machine.
It is also a very critical factor in choosing the injection molding machine on which injection molding machine.
The processes of injection mold design step 3:
Third, the determination and arrangement of the number of point cavities is also an important process.
For example the weight of the product and the injection volume of the injection machine, the accuracy of the product, whether the product has side cores and the processing method, etc.
The processes of injection mold design step 4:
Fourth, the selection of injection mold profiles.
The processes of injection mold design step 5:
Fifth, the determination of the injection mold parting surface.
We need to consider whether the requirements and accuracy of the appearance of the product must be ensured, and the processing of the mold, especially the processing of the cavity, should be facilitated.
The processes of injection mold design step 6:
The sixth is to determine the parting and core pulling mechanism.
Next is the determination of the mold base and the selection of standard parts, the design of the mold pouring system, the design of the exhaust system, the design of the cooling system, the design of the thimble system, the design of the guide device, the drawing of the main parts of the mold, and the design drawings Signing of proofreading and design drawings.
The basic flow of injection mold design 13 points in details
Injection molding is a process developed based on micro-manufacturing technologies such as LIGA, and of course, there are many other methods. So what is the design process of the injection mold? Let’s take a look together!
The LIGA process is to produce a model required for injection molding, which is commonly known as injection mold, then pour liquid plastic into the injection mold, and finally separate it to form the final required product. For example, some plastic toys have too many products.
After receiving the customer’s CASE, first of all, we must understand the customer’s requirements (such as product appearance requirements, structural requirements, or other special requirements), and communicate with the customer;
This product is made, mainly to check the draft and meat thickness of the product, and to prevent shrinkage treatment of some column positions and rib positions (these are necessary, which can reduce some unnecessary troubles in injection mold opening in the future and improve your status in customer’s mind).
The specific process of injection mold design
The specific process of injection mold design (the following is based on Pro/E for the 3D design of mold core, and then complete all design in 2D CAD) is as follows.
- Rank the product (this will determine the size of the mold, there are too many things to consider here, mainly rely on the designer’s experience and the company’s requirements); 2. Add shrinkage (shrinkage) to the product ; 3. Determine the size of the mold kernel;
- Start to do the parting surface, not only 3D is used well, but the mold structure is the top priority;
- When the parting surface is completed, the injection mold can be separated, and the front and rear molds, inserts, inclined tops, and row positions can be divided here.
- The next thing to do is the flow channel, which is related to the company’s production cost and product quality, and design should be careful;
- The following is the layout of the cooling water circuit, the placement of the screw, and the arrangement of the thimble (if it is designed with EMX, then only the reference point can be used here);
- If it is designed with CAD, generally it can be converted into a plan after finishing the above work, directly put into the mold embryo, and then designed in CAD.
- When the mold kernel diagram is available, the design on the mold base begins.
First of all, according to the size and structure of the mold core, determine the size and form of the mold base (such as large gate sprue bushing, small gate sprue bushing, etc.); then, use the mold plug-in to call out the suitable mold base and load the mold core (note: the layer Control and color control, so that it can be faster and easier to identify when the parts picture is published later);
- Lead the waterway to the mold base, and the screw, and then draw the mold spring, stop pins, and top stick holes.
While doing this on the main view, express it on the cross-sectional view. Of course, there is a thimble, don’t forget to paint the sprue bushing here too. If it is a small gate sprue bushing, it will be busy. The ejector pin, R8 spindle drawer, and mold parting lock should be designed here. If there is a mold for the row, the row should be designed first;
- The next step is the support pillar, mold latch locking unit, and mold pry bar slot;
- A simpler injection mold is almost the same here (just say the structural diagram), then start the numbering, which is also an important part of checking the correctness of the design;
- Get it done, start to make the BOM table, put on the picture frame after finishing it, fill in the title bar and check it again, then come out with an assembly chart to confirm to the customer, see if the customer is dissatisfied, there is The problem can be changed, and if there is no problem, the spare parts can be produced.
You may also be interested in the below articles:
Summary Of 50 Injection Mold Structure Operation Dynamic Diagrams
